🔍 Mounting Forensic Images — Making Digital Evidence Come Alive
Mounting is the critical bridge between acquisition and analysis. Here’s how to do it safely with Arsenal Image Mounter (AIM) and FTK Imager.
After the rush of acquiring a forensic image — that precious snapshot of a system frozen in time — comes the quiet, deliberate phase of opening it up for analysis.
But before you can dive in, there’s one critical step: mounting.
Think of mounting as giving life to the captured evidence. When you mount a forensic image, you’re essentially placing it in a usable state — making it behave as if it were a real, connected drive.
Remember the last time you plugged in a USB flash drive? Your operating system instantly assigned it a drive letter, and suddenly its contents were at your fingertips. That’s exactly what happens when you mount a forensic image — except now, your “USB” is an entire disk from a compromised system, preserved bit by bit for investigation.
Once mounted, the fun begins. You can:
- Run antivirus scans to check for known malware signatures.
- Copy out specific files for deeper examination.
- Browse system logs, user documents, and browser histories.
- Analyze artifacts to reconstruct what really happened.
In short — mounting transforms static evidence into a living environment for analysis.
🧰 Arsenal Image Mounter — The Investigator’s Swiss Army Knife
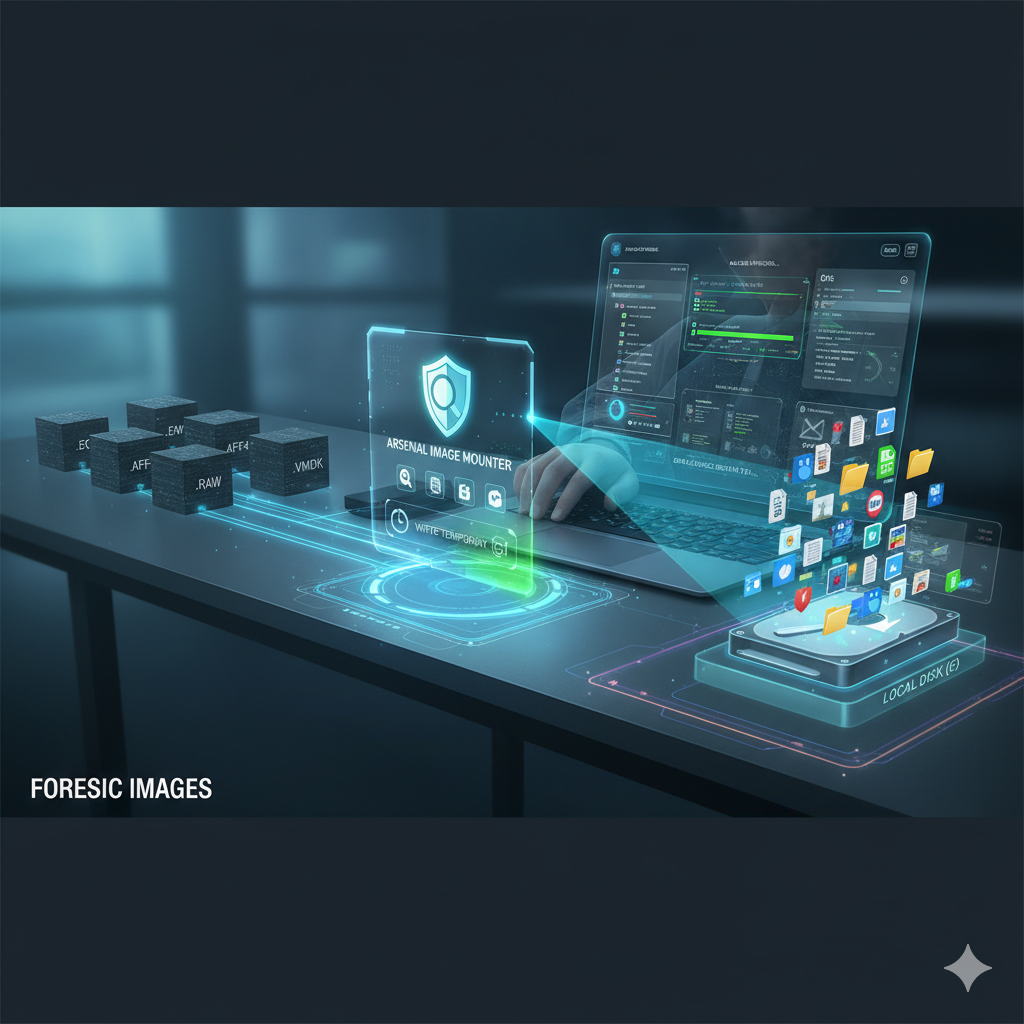
One of the most versatile tools for mounting images is Arsenal Image Mounter (AIM). It supports a wide range of image formats — from raw .dd dumps to E01, AFF4, and even virtual machine disks like VMDK, VDI, and OVA.

AIM Supported Formats
AIM ships with native support for E01, AFF4, RAW/DD, VHD(X), VMDK, and other common acquisition formats. Double-check that your evidence type appears in the list before mounting so you can choose the most stable mode.
But what truly makes it shine is its mounting modes.
Among them, Write Temporary mode stands out as a favorite for forensic analysts. It’s like working on a copy of your evidence with a magical undo button. You can interact with the image freely — extract files, open logs, or run forensic utilities — without fear of altering the original data.
Any change, whether intentional or accidentyal, can be instantly reverted. Think of it as creating a snapshot of the image at the moment you begin — one you can always roll back to once your analysis is done.
Tip: For volatile experiments (AV scans, parsers that may write temp files), use AIM’s Write Temporary mode. For strict read-only viewing, keep the default.
🧩 Compatibility Matters
Before you start mounting, always check the filesystem compatibility.
- Windows doesn’t natively read
ext4,xfs, etc. - macOS won’t natively write to
NTFS(and read support can be limited). - For Linux filesystems on Windows, consider a Linux VM/WSL and loop mounts.
Skipping this step often leads to frustration — or worse, wasted time troubleshooting what seems like a “broken” image.
🧭 Other Tools in the Investigator’s Toolkit
While Arsenal Image Mounter is a go-to for many, FTK Imager remains another excellent choice. It’s lightweight, reliable, and supports mounting images directly for preview or analysis.
Ultimately, the right tool depends on your workflow. What matters most is understanding why mounting is such a crucial step: it bridges the gap between acquisition and analysis, letting you explore evidence safely and efficiently.
🧠 Final Thoughts
Mounting a forensic image isn’t just a technical procedure — it’s the moment your evidence speaks.
With tools like Arsenal Image Mounter or FTK Imager, you can safely bring that data to life, explore its contents, and uncover the story hidden within every byte.
In digital forensics, every detail matters — and mounting is where the story begins.